So you saw headband curls on Pinterest, thought “ERMEGERD so cool!”, tried it out, and hated the result. Why must everything on Pinterest be so misleading!! Well I know that you can indeed get perfect curls this way, but the other tutorials seem to skip a couple steps. Let me fill in the blanks.
I’m not going to get too deep into the basics because you already know that by now. But let me just say that if your hair is fairly long, or if you have a hard time keeping one side tightly wrapped while you do the other, two headbands, one for each side, is a good solution. So there you are in all your going-to-bed hotness, you sleep on it, wake up, and now we’re ready to begin.
Here’s the front when it’s wrapped, your starting point.
The back, meanwhile, if you used two headbands, looks like this.
Ok, so you take the curls out of the headband, and you are immediately disappointed, because it looks like shit.
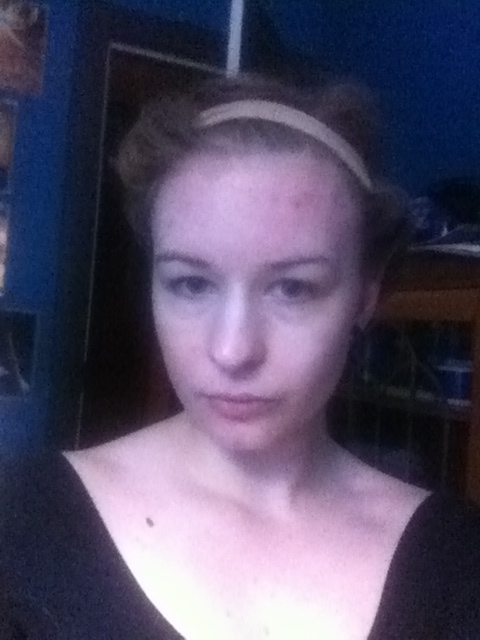
The look on your face of course will match this picture as well. This is not what you signed up for! Well it’s at this point that the extra steps come in. First of all, brush it. I know the tutorials all say not to, but fuck that we’re brushing today.
Then to smooth it out and calm down any frizz, run some mousse through it. So now you got this.
Ok so now you grab the top layer of each side, hairspray it, and tease it. I like mine to be HUGE.
I know it’s a little hard to tell the difference between the last two pictures, but trust me that teasing is important. This curling method doesn’t curl your hair at the top, so it can look quite flat compared to the rest. Teasing it helps to even things out, and as far as I’m concerned, big curly hair is the best curly hair.
So just fuss and tinker, and shape the curls by twirling it around in your fingers a bit, you know. I also find a little styler/flat iron thing is great for curling the ends where they got loose from the headband, and calming down any parts that got too curly. I always get one little piece like that in the front. But that’s it! It’s not quite as quick as they lead you to believe, but it’s not bad.
And since we all know that any kind of set can often turn out inconsistent when you’re not a pro, here’s another example of my hair at this stage, from about a month or two ago.
And on a particularly good day, with particularly good lighting, you might even be able to make it look like this.
In the set I’ve included pictures of, it looked its very best after sleeping on it for a night. All you have to do in the morning is brush, add a touch of mousse, and ruffle it a bit.
When I wrapped it up again that second night and left it dry, to preserve the curls over a few more days, I timed myself at exactly four minutes. This is officially the absolute quickest way I have ever found to curl my hair, as long as you plan about 5-8 hours ahead. Practice this one, tinker and play with it a bit, and you’re sure to find this will be one of your go-tos too 🙂


