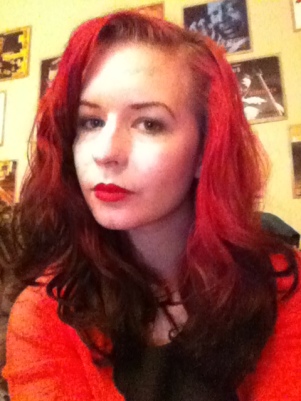
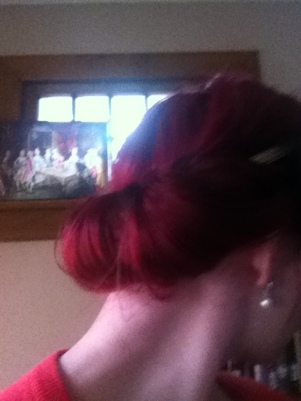
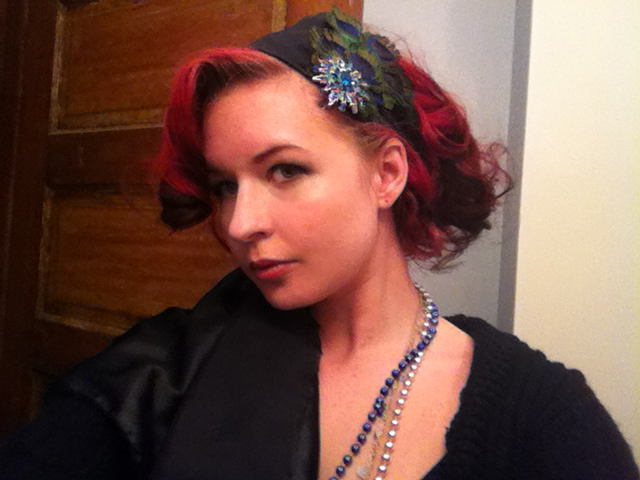
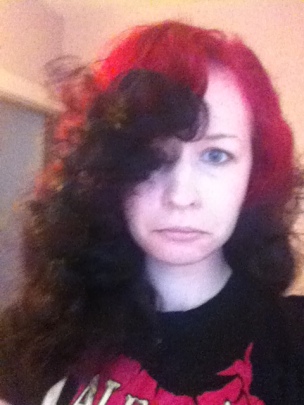
Perfect Headband Curls

So you saw headband curls on Pinterest, thought “ERMEGERD so cool!”, tried it out, and hated the result. Why must everything on Pinterest be so misleading!! Well I know that you can indeed get perfect curls this way, but the other tutorials seem to skip a couple steps. Let me fill in the blanks.

I’m not going to get too deep into the basics because you already know that by now. But let me just say that if your hair is fairly long, or if you have a hard time keeping one side tightly wrapped while you do the other, two headbands, one for each side, is a good solution. So there you are in all your going-to-bed hotness, you sleep on it, wake up, and now we’re ready to begin.


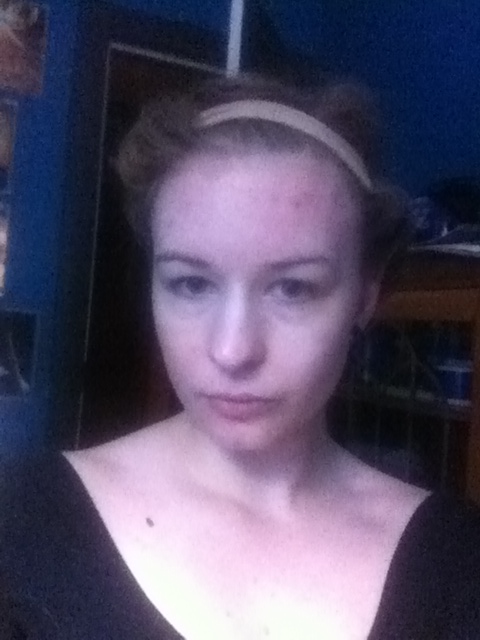
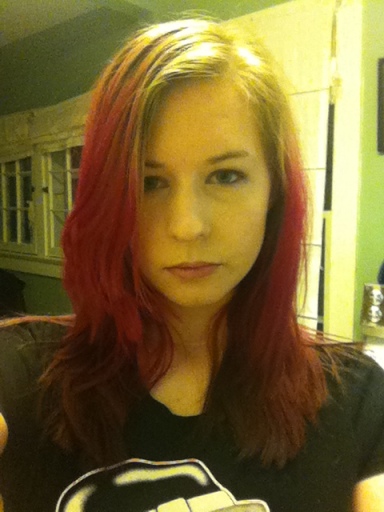
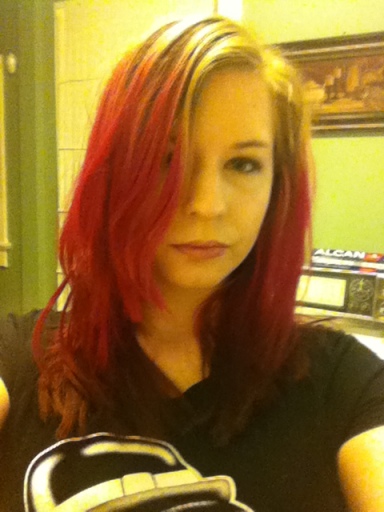
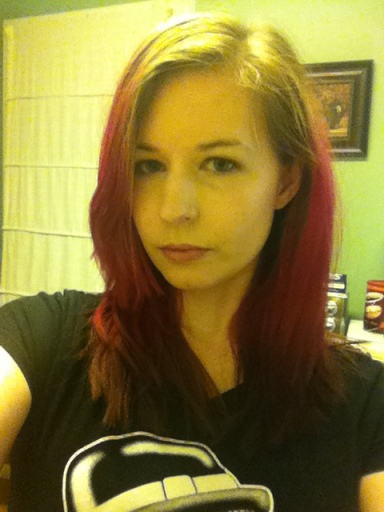
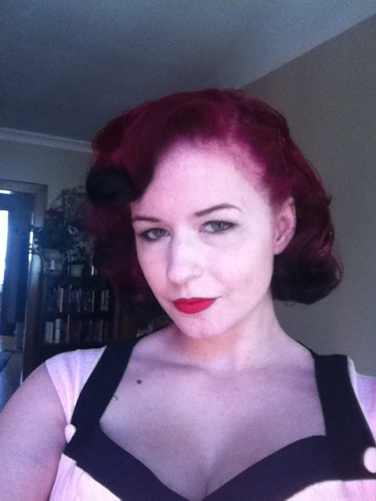
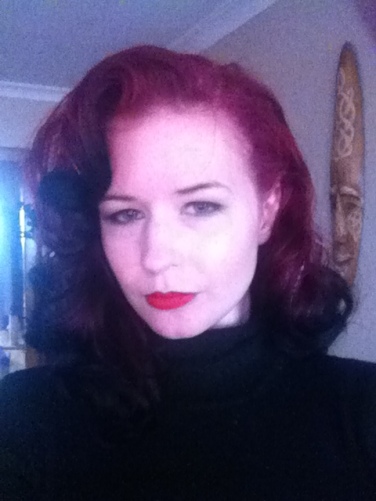
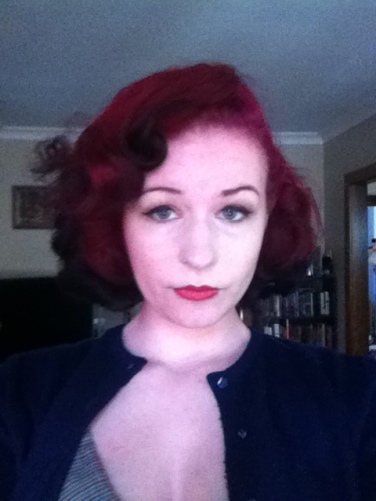
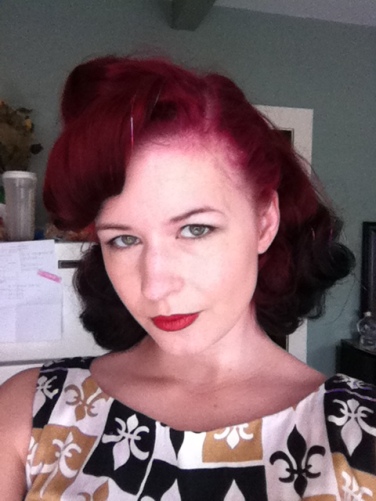
Here’s the front when it’s wrapped, your starting point.

IMG_3413

Realistically, you CAN wear this out of the house.

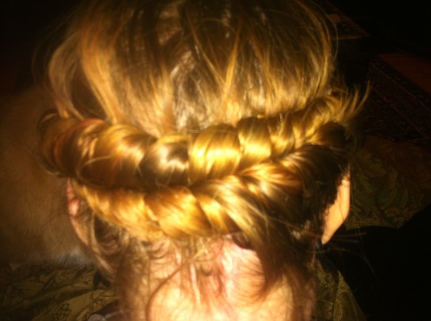
The back, meanwhile, if you used two headbands, looks like this.

IMG_3364

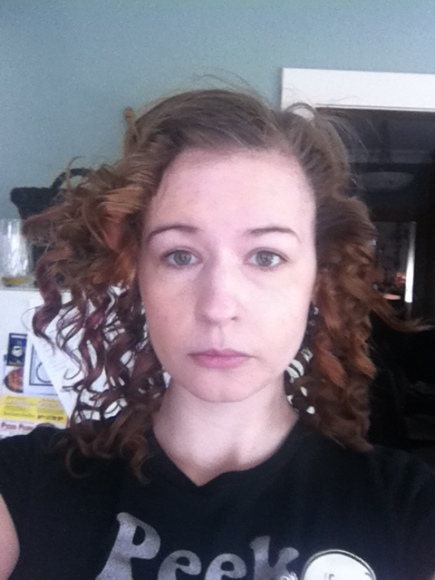
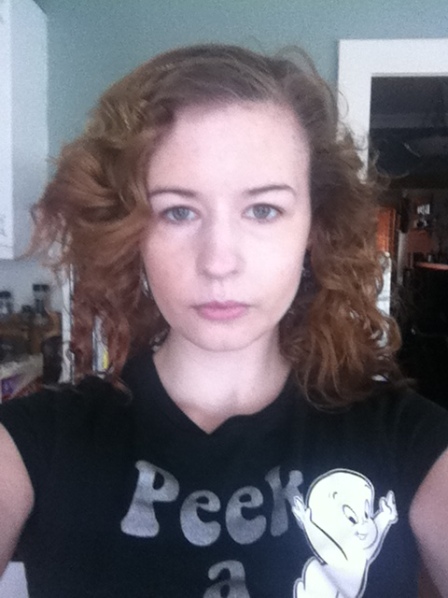
Ok, so you take the curls out of the headband, and you are immediately disappointed, because it looks like shit.

IMG_3369

The look on your face of course will match this picture as well. This is not what you signed up for! Well it’s at this point that the extra steps come in. First of all, brush it. I know the tutorials all say not to, but fuck that we’re brushing today.

IMG_3376

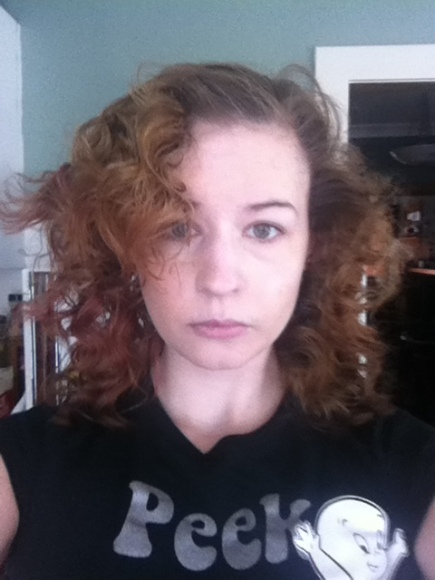
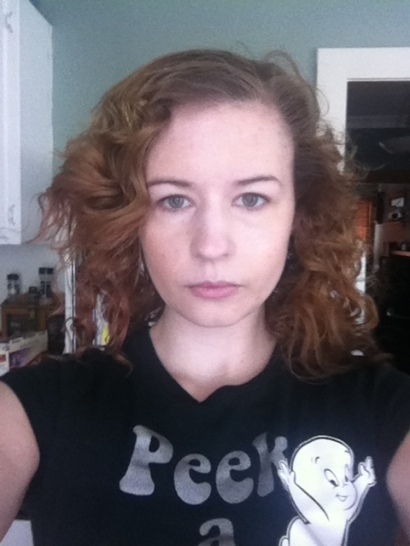
Then to smooth it out and calm down any frizz, run some mousse through it. So now you got this.

IMG_3382

Ok so now you grab the top layer of each side, hairspray it, and tease it. I like mine to be HUGE.

IMG_3383

I know it’s a little hard to tell the difference between the last two pictures, but trust me that teasing is important. This curling method doesn’t curl your hair at the top, so it can look quite flat compared to the rest. Teasing it helps to even things out, and as far as I’m concerned, big curly hair is the best curly hair.

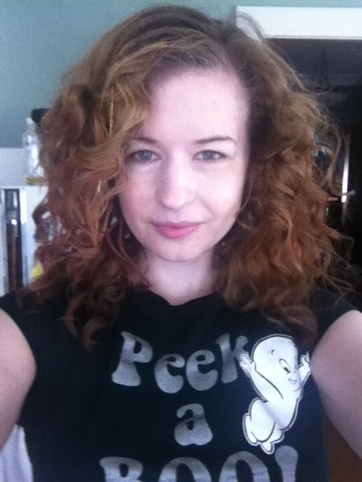
So just fuss and tinker, and shape the curls by twirling it around in your fingers a bit, you know. I also find a little styler/flat iron thing is great for curling the ends where they got loose from the headband, and calming down any parts that got too curly. I always get one little piece like that in the front. But that’s it! It’s not quite as quick as they lead you to believe, but it’s not bad.


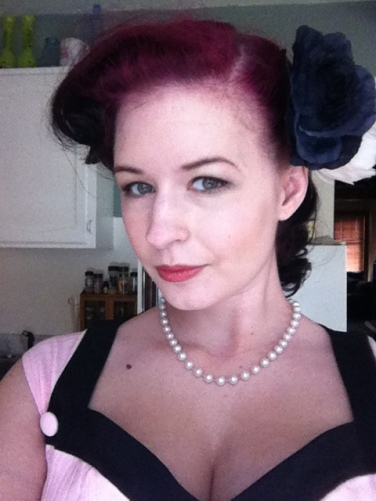
Hey, there we go!

Hey, there we go!

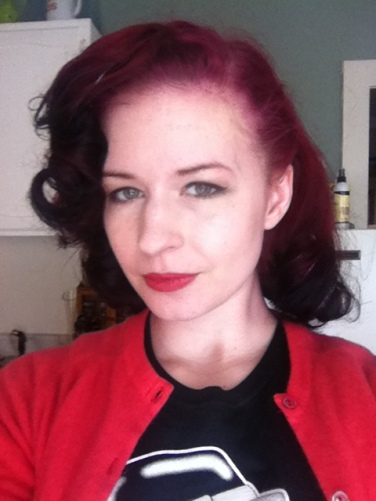
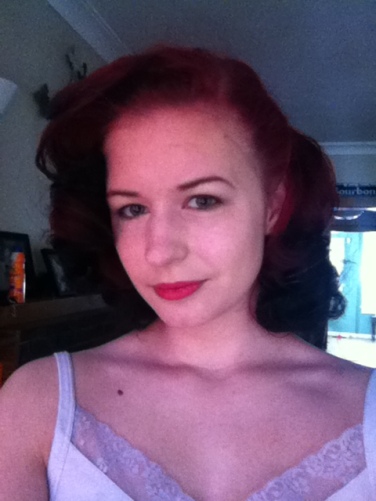
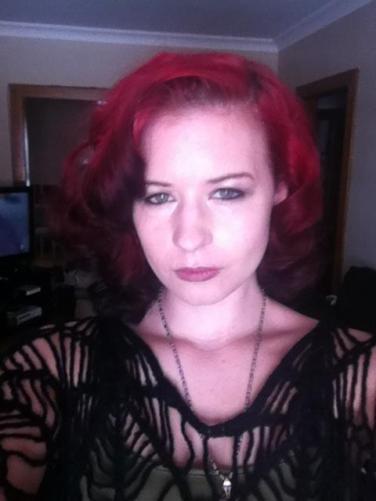
And since we all know that any kind of set can often turn out inconsistent when you’re not a pro, here’s another example of my hair at this stage, from about a month or two ago.

There we go!

A less than perfect job and it still looks good!

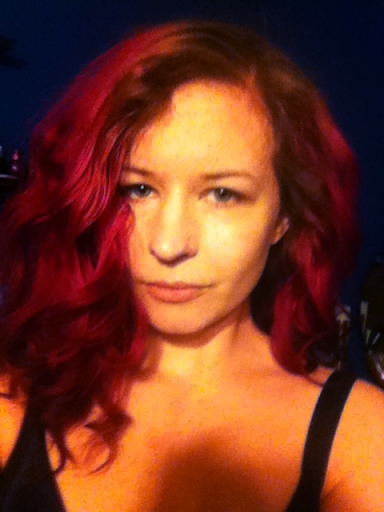
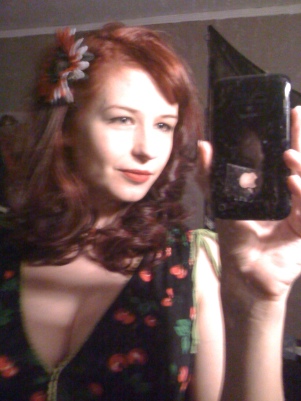
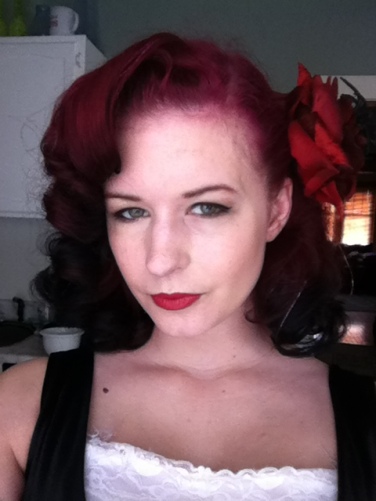
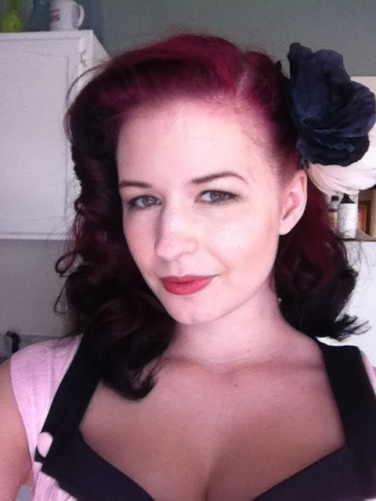
And on a particularly good day, with particularly good lighting, you might even be able to make it look like this.

Hellooo profile picture.

Hellooo profile picture.

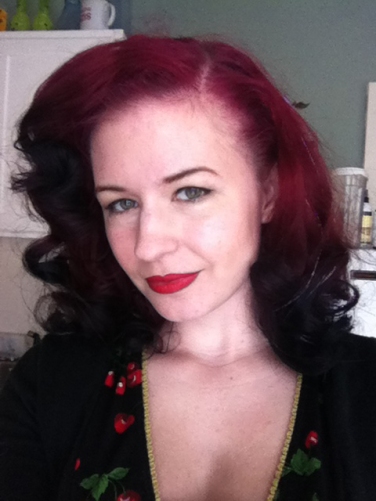
In the set I’ve included pictures of, it looked its very best after sleeping on it for a night. All you have to do in the morning is brush, add a touch of mousse, and ruffle it a bit.


Perfect

Perfect

When I wrapped it up again that second night and left it dry, to preserve the curls over a few more days, I timed myself at exactly four minutes. This is officially the absolute quickest way I have ever found to curl my hair, as long as you plan about 5-8 hours ahead. Practice this one, tinker and play with it a bit, and you’re sure to find this will be one of your go-tos too 🙂

I’m a Blond! – Color B4 and Nice ‘N Easy

My hair has been dyed for the last 10 years. For the most part it has been red or red/brown, and at other times it has been white, yellow, blue, green, black, and pink. Most recently it’s been pink into brown (ie faded black) ombre, and I haven’t done my roots in 6 months.

My main reason is laziness. To get my hair pink, as you may have read, I have to dye my roots light blond first, and then the pink dye is a totally separate process. It’s a pain in the ass. I hate it. It’s bullshit and I didn’t want to do it anymore, so I just stopped. That has been leaving me looking a little… blah.

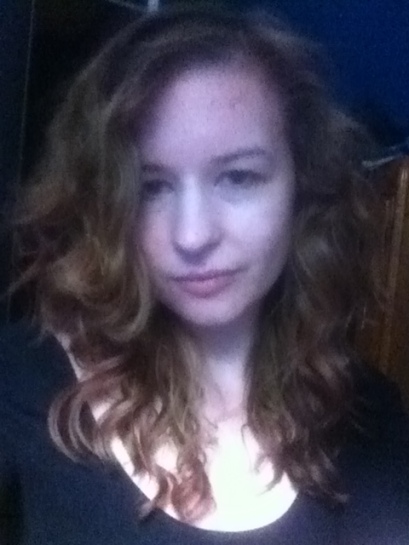
Before, with 6 months of root.

Before, with 6 months of root.

Mr. Strange has been wanting to see me go blond pretty much forever, since that’s my natural color and the color it was when he first met me. He also just likes change. I’ve been feeling a little less than fabulous lately, so I decided to take the plunge and try to go from pink-brown to blond at home. Brave, I most definitely am.

IMG_3334

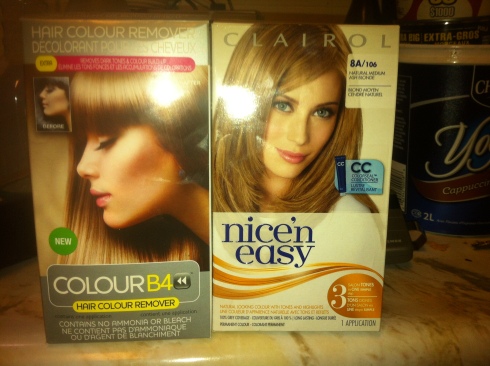
So here’s what I used to do this. As you know, I HATE bleach. I don’t mean I have anything specific against it, it’s not like it’s ever done anything to hurt me personally. But it’s harsh and I’m afraid to use it so I just don’t. Instead, I used Color B4, which is a color stripper, which I had had lying around for a few months. By some miracle I was also able to find a dye in my exact natural shade (natural medium ash blond), and on sale for 7$.

The way Color B4 works is by shrinking the color molecules in your hair, so that they just rinse away. It doesn’t do anything to lighten your base color, so it’s really safe and doesn’t do anything you don’t want it to. But now here’s where things for me got weird.


Umm...WTF?

Umm…WTF?

IMG_3328

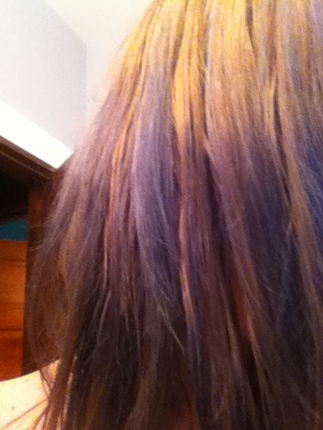
Absolutely no blue dye was used in the making of this photo.

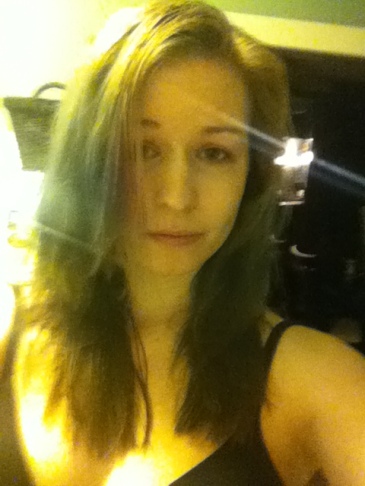
Through either some fluke of science or sorcery that I don’t understand, it turned my hair blue. Explain that one, Bill Nye! But it wasn’t some deep rich blue. It looked like it had been a deep rich blue at least 6 months ago and I had now started my own squeegee-ing business. Luckily I stayed totally relaxed about the whole thing (I had been considering doing blue ends anyway) and just went ahead with everything as planned, putting the dye on top of it. I cannot be stopped.

Almost immediately the blue faded away into a nice deep blond. Now let me tell you, the Color B4 was no picnic in that tiny bathroom. It smelled kind of like an open sewer. But it had nothing on the dye. An impenetrable wall of eye-watering toxic stench formed around me and I had to escape to the living room a couple times to catch my breath. I have never experienced anything that bad, so thank god I never have to use it ever again. In Clairol’s defense however, I must say the color turned out spectacular.

IMG_3332

After. About 20$ spent and no trip to the salon required. Am I good at this or what?

I didn’t bother with the roots, because why, and I can see absolutely no demarcation line between them and the dye. The color is not only exactly the same, but just like the box promised it has many tones in it so it looks totally natural. Nice! Well after all, I guess they did owe me after subjecting me to that stink.

I am super happy with the way my hair looks, super proud of myself for making this work on my own, and especially super happy that with my hair back to natural I will no longer be required to do any root upkeep. My current plan is to go ahead and continue playing with color on the bottom half, leaving the top half the hell alone so that dye jobs only have to happen when I want them to, not when I need them to. I would definitely call this a success.

How to Give Your Own Cheap Ass a Hair Cut

I have a confession to make. I have not seen my stylist in a year. Please know that it’s not because I’ve been disloyal. It’s because I’m a cheap fuck; I have engaged in the sin of self-hair-cutting, and sometimes sin feels good.

IMG_3231

This is for anyone with medium to long hair. Like many of my methods, this is the frankenstein combination of various others I’ve gathered from around the internet and put together to make my very own idiot-friendly creation. To do this is typically considered either brave or stupid, but considering that hair grows, and common sense tells us to cut a little less than we actually want to so we have room to go in case we panic and run to a salon for a fix, I would call this merely brave. Let’s begin.

I do this on dry hair. It moves around more easily and wet hair shrinks as it dries, so this way you get no nasty surprises. We are going to start by cutting the layers first. I know this is unusual but considering they’re the most daunting part I like to start here, go slow, and then make the length match up to where I want it. If you don’t want layers, skip the rest of this paragraph. First choose an area on your head where you want the layers to be shortest, from which they will progressively radiate outward, and put your hair in a perfectly smooth ponytail at that exact spot. I like layers around my face, which means I place my ponytail in the middle of my forehead, making me look like a demented unicorn. Now all you’re going to do is cut the ponytail. Go slowly here. Even if this means you didn’t cut enough and have to keep doing it again, it’s free so who cares, better safe than sorry. I tend to cut about one inch at a time. Because your hair gets progressively longer as it moves away from the ponytail, placing it here will result in a very vintage-friendly face-framing rounded shape, not to be confused with an authentic middy cut but which still totally does the job.

Warning #1: Do not judge the length until you’ve brushed it all out. After being in this crazy high ponytail it might want to still go up before it goes down, making you think you cut way more than you actually did. Do not panic. You did not magically cut one inch that turned into five, physics do not work that way.

IMG_3238

When the layers you want the shortest are about where you feel they belong, it’s time to move on to the next step, the overall length. It can be helpful here if you like to use the neckline of a shirt as a guide, from modest bateau to deep and plunging. Part your hair where you normally keep it and bring it all towards the front. Doing just one side at a time, lean your head wayyyy back, brush and gently clasp the ends of your hair between your fingers. Tilting your head like this ensures the angle will be right when it’s done. Again, cut less than you really want to. I am VERY conservative here, because we all know what happens when you have to keep evening it out and all of a sudden there’s half a head of hair on the floor, right? Right.

Finally, the last step is to check how even it is at the back. Grab a hand mirror and take a look. are there any pieces that are just too long? Make a low ponytail, perfectly centered, and slide the elastic gently down until you can pull the ends of the ponytail within view. Now you’re NOT cutting for length here in the least, you’re just grabbing all the bits that escaped. Check again. It should be all good!

Warning #2: If you hair is dirty, slept-on, previously styled or whatever, you might think it looks like crap. Before you decide to be disappointed, don’t cut one more hair. Just get in the shower and wash it. Once it’s all clean, dry, and lying where it should you’ll probably notice a huge difference. I absolutely love my hair cut this way.

It’s at this point that if you’re a bit obsessive like me, you can start grabbing random sections and tweaking them. I tend to play with it for days afterwards, even though it always comes out looking exactly the same. Whatever, it’s fun. It’s especially fun to be able to say you’ve cut this fabulous style all by yourself and enjoy the tons of money you’ll save. Lookin’ good!

IMG_3235

For more awesome hair-cutting tutorials go check out howtohairgirl.com. I love that site.

Androgynous Style

Whether you’re agender, third gender, both genders, or just looking to explore new style territory, androgynous style can be a challenge. But for women, this can be easier to pull off for than for men. Not that men should ever be concerned about what others think either! And while this post is primarily geared towards bio-women, bio-men may find something useful in this as well. Androgyny is for everyone after all. Now, I’ve come to understand that those who really aren’t looking for a feminine style tend to dress a little… lazy. I don’t mean this as a judgement. But when you’re unsure or just a little apathetic, jeans and tshirts can get you into a bit of a rut. Here are some fresh ideas, along with some basics for those looking to try this out for the first time.

First of all, the most important thing I think to ask yourself is – What elements of my current style would I keep if I suddenly woke up in a man’s (or woman’s) body? Even if your answer includes dresses and skirts, these things are part of your style that really fit you and represent who you are. Keep them, no matter how girly (or masculine) they may be. Your answer to this may change day to day and that’s ok too. I know for a fact that if I was a dude I would totally still rock long pointed nails, though I may be more bothered by it when a fresh dye-job stains them pink. Also not such a great idea for job interviews.

Clothes. While I still recommend clothing made for women as they’re tailored to the shape of your body, we’re lucky that unlike it was in the past, it’s easy to find women’s clothes that are inspired by menswear. There are also varying degrees of this and in various styles. We can easily find traditional and edgy suits, boyfriend jeans, and unisex items like tshirts and sweaters, and button downs in any store. Trench coats and pea coats are universally flattering. For underneath, minimizing bras and shapewear for the hips will help streamline those curves, should you so desire.

Accessories. You might not want to wear a tie in the traditional way, but have you thought about wearing one as a belt? Sweater vests look awesome on anyone, and while you may want to skip jewelry altogether, keeping things basic or edgy is a way to make it work with this style. Unisex perfume is available at various shops such as Goth Rosary. Newsboy hats are adorable and dapper. And call me a hipster, but I love pocket watches. I’ve also been known to wear a black underbust corset (of course) in the style of a waistcoat. For many of us, ditching a bag isn’t an option, but you don’t have to carry a traditional purse. Book bags and laptop bags can be carried by anyone. My own favorites are messenger bags because I can wear them instead of carrying them and they’re big enough for my books and all the garbage that eventually piles up inside. These bags also tend to appear much more simple and casual than girly. My new one has a ouija board design.

Hair. You don’t have to get a pixie cut, though I have to say this is gorgeous. Women don’t have a monopoly on long hair, so keep that in mind. For style, simple and natural does the trick. If you like curling your hair, go for tousled waves over perfect ringlets. Bed-head, slicked back, a classic low ponytail or just regular ol’ down are easy. Some other fun options are a pompadour with a ponytail or french twist, or hidden under a hat. If you have long hair and want to fake a cut, sweep your hair back and over your head so that the ends fall down your forehead like bangs. Use a firm headband to hold this in place. Then hide the the majority of it with a hat, and style the front however you like, such as side-swept, bed-head, or spikey. For color consider going all natural, super natural-looking, or try bright and fun colors like blue and green. I’d stay away from natural colors in unnatural shades, like the type of thing you get with brands like Feria.

Makeup. Of course, skipping makeup altogether is the most obvious option, but some of us just aren’t that brave or laid back. To bring out your best without obviously having anything on, try BB cream or a light foundation, translucent powder, and some light bronzer on your temples and under your cheek bones for dimension and contouring. If a more obvious look is more your style, try a bold eye in a neutral color like black or grey, and keep lips looking more natural with a clear or neutral lip balm.

While there’s plenty other info out there on feminine looks inspired by men, there’s an unfortunate lack for those who just want to appear truly androgynous. So if you have any ideas or tips to share please comment or share some pics! Let’s brainstorm this up.

No ‘Poo – Six Months Later

It’s been 6 months since I quit using shampoo for good. I’ve stuck with it – I’ve only used sulfate-free all natural shampoo a small handful of times (3?), and it’s been months since the last time I used even that. When you start on this regime your hair goes through some changes. It takes a couple weeks to get past the uncomfortable transition phase. But that’s actually not the end of it. My hair has continued to change over the last 6 months.  I wouldn’t say it looks any different in general so much as it just behaves differently. So how is it doing now?

-I still have to make occasional changes to the way I wash my hair.  The way I was doing it before isn’t what has continued to work for me, and I’ve sometimes needed to figure out something else and adjust. I no longer need to leave the baking soda solution in my hair for a day or night before washing. But I have needed to change up the ratio a bit and use more baking soda to water. I also decreased the amount of ACV to water I’ve been using, and I’ve been spraying much less onto my hair after I wash it. I’m still using it as a leave-in. I think very soon that will change too.

-My hair never gets greasy, ever. It feels more like I just over-used a fancy deep conditioner. But it’s not like I can stop washing completely. At that point it gets really hard to style.

-I don’t think it looks thicker, but I definitely have to use more hot rollers than I used to.

-I still have absolutely no natural curl. No hint of a wave. Nothing. So many other people get curls, it’s just not fair.

-Because my hair is so moisturized, I’m not afraid of damage. I can afford it. I don’t care anymore about using hot rollers or blonde dye. I don’t use or need heat protectant spray.

-I don’t mind the smell of vinegar anymore.

-Hair spray may have a smell, but my hair does not. It smells like absolutely nothing.

-My face is greasier. Yeah I know, gross. I’m definitely best to carry oil blotting sheets. I can’t explain this, but I know I’m not the only one.

-Unless I’ve diluted the dye too much, my hair color does not fade. Some people have expressed concerns about this, thinking it will fade faster, but it doesn’t at all. When I dye it again it’s only because I have roots, or put too much conditioner in my dye trying to make it last longer, which is a habit I need to get out of. I’m often asked how I keep my hair so bright, even 6 weeks after a dye job. Like I mentioned in another article, baking soda does strip color. But I don’t wash often enough for that to be an issue.

-I haven’t had a hair cut since February, and it still looks great. It’s not like I don’t get split ends, but splitting and breakage is vastly reduced. My hair looks totally healthy, not like I’m overdue for a trim.

-Besides minimal jars of hair dye, I have spent zero money on routine hair care since I picked up all my supplies back in February. Back then, I bought 2 boxes of baking soda and one bottle of ACV. I’m getting towards the end of the first box of baking soda, and have only refilled my ACV-water mix once. It will be more than another 6 months before I have to buy any of this stuff again.

-Going forward one day I’d like to see if I can transition from BS and ACV to water only.

What it all comes down to is that my hair is much healthier than it was, and for better or worse it behaves that way. Overall I feel like I can be a whole lot more hands-off than I used to be. Quitting shampoo hasn’t always been easy, but it’s been worth it, and I feel better that I’m not putting as many chemicals on my head or down the drain. I haven’t been a perfect hippy, but it’s a start.

IMG_2262

The bus. Ridin’ dirty.

At Home Hair Color Theory

Many years ago, I dyed my hair a lot of different colors. I spent a lot of time on haircrazy.info, which is a fantastic site, and learning what’s up. I was so enthusiastic about this that I became the at home hair color expert on allexperts.com. But this was pretty short-lived. Why? Because instead of being asked about how to achieve beautiful blue, green, or purple hair, I kept getting asked the same thing over and over – I tried to dye my hair blonde but it turned orange! omg what do I do?!

Sigh. People just need to learn to read instructions sometimes, amirite? But let me break it down for you, along with all the other basic info about dying your hair salon-free.

Bleach vs blonde dye and how box dyes work

Bleach is something that, lack of my knowledge of chemistry aside, lightens hair. Of course we know this. But what many people don’t really know is that it is NOT a dye, and absolutely not the equivalent to dying your hair blonde. Bleach will strip color whereas dye adds it. Bleach doesn’t make your hair blonde so much as it makes it yellow. Starting from black, bleach will go through stages of red, orange, yellow, white, and finally bald. It works with heat, so this is why you need to start at the tips and work your way up gradually, otherwise the heat from your scalp, making the bleach process faster, will result in a fire effect which is admittedly pretty awesome looking. This is also why bleaching out green or blue, which are the opposites of red and orange respectively, is very hard. It gets lighter, but it’s tough to make it really go away. Bleach makes your hair porous, and the lighter it is the more porous it is, which is why bald follows white. You want to be very careful at the white stage, and make sure your hair isn’t already too damaged. Bleach is TERRIBLE for your hair (and burns like hell on your scalp), but sometimes necessary to get the color you want. Please use bleach responsibly, and you’ll be ok.

Bleach is necessary in achieving white or silver/grey hair. To get white, a weak lavender veggie dye (for example Manic Panic Virgin Snow, or any shade of purple heavily diluted in conditioner, like half a teaspoon/1 cup) is used after bleaching to the lightest shade you can (please don’t bleach to white, I will not be held responsible if you lose clumps of hair). This works because purple is the opposite of yellow so the two cancel each other out. Silver/grey is achieved by doing the same thing except with very weak blue.

Bleach also comes in different strengths, called volumes. There’s 20 vol, 30 vol, and 40 vol. 20 won’t do much, 30 is the most commonly used, and 40 will destroy your hair if it isn’t in good condition.

Dye on the other hand uses developer to lift your color like a bleach, and deposit the color in its place at the same time. But it doesn’t have enough developer in it to lift your hair more than two shades or so, hence the guides you see on the side of the box. If you try to dye dark hair blonde, it won’t be able to take it all the way there, and depending on the shade it could turn your hair orange or some other color you didn’t want, or just not do a damn thing at all. For dark hair to go blond you need to bleach first to lighten it to the level you want, and dye second. However this is kind of expert territory, and very easy to get wrong. If you intend to do this I beg you to go to a salon.

There are shades of blond. Strawberry blonde has a red base, golden blonde has a yellow base, and ash blonde has a green base. Yes, I said green. People have ended up with green hair.

One last note: Semi-permanent box dyes are much less damaging than permanent ones because they contain much less developer, if any. Their purpose is to be used to enhance the color you already have and fade after 30 days. However, if you intend to dye your hair quite a bit darker, it will last just as long as a permanent one, with a fraction of the damage!

How veggie dye works

Veggie dyes are natural conditioner-based dyes in bright cartoony colors that work by filling up the pores in your hair created by bleach and/or other types of damage. You need to start with bleach or very light dyed blonde hair for it to really get in and show up as bright as it’s supposed to. Used on darker or natural hair, it will show up in a much more subtle way, and will probably fade quicker too. Because veggie dye has no developer in it, you can mix colors to get the exact shade you want, and you can leave it in your hair indefinitely. Some people even cover their head in saran wrap and a towel and sleep with it overnight before rinsing it out! Keep in mind here that this color isn’t opaque, so when you’re dying one color over another it won’t show up in its purest form. Think of it as layering different colors of cellophane. Blue over red will show up a lot more purple than intended, and green over red, as I learned when I was 19, is just gross.

Coloring alternatives

Sometimes you just really don’t want to do the damage to your hair necessary to achieve the color you want. So there are a few ways of getting around this. This involves using extensions, so your own hair isn’t affected. The best way to do this in my opinion it to get a set of clip-ins. If you can’t find the color you want, buy blonde ones and dye them the color you want. “Human hair” is not actually human hair at all, but means that it behaves like it, despite often feeling like barbie hair, so as long as it’s labelled this way you’re good to go. You can also dye it in crazy patterns, such as stripes and leopard spots, and some people sell clip-ins like this on etsy if you don’t feel up to the work. Alternatively there are also what are called “falls”, which attach to a ponytail or pigtails. These are super fun to make and can also be purchased on etsy. If you want something more permanent than clip-ins, synthetic hair can be braided or micro-beaded into your own, and there are lots of sites selling hair for this purpose. Finally, there are a whole lot of alternative subcultures full of people who routinely attach things that are not at all hair into their hair, including wool, plastic, foam, and anything you can think of. If you’re more on the wild side, these can be a fantastic way to go all out and make your hair look like nature never intended. The creativity of these people astounds me.

So there you go! Go make yourselves gorgeous!

So Your Set Failed – Now What?

You spent at least half an hour last night meticulously setting your hair. You made sure the curls were even and you used setting lotion. You let it dry all night. But then you woke up this morning and looked like this.

Holy mother of god.

No matter how much you brush, you still have hair like the crazy cat lady from The Simpsons. Or maybe half of it is curly and the other half is straight except for one wave that sticks straight out. What do you do? Well that depends on just how your set failed, but luckily there are many options and I’m here to save the day. Because I have experience.

1. Everything worked except one or two curls.

Dampen the failed pieces and put them back into pin curls (Even if you don’t normally do pin curls, just use a mascara wand to roll around if you find it difficult) and leave it to dry for an hour or two before taking them back out. Alternatively you can use a very small barrel curling iron or hot sticks.

2. You’re dealing with a weird half and half situation.

IMG_0130

Instead of pretending you’re some two-for-one creature out of Greek mythology, use hot rollers on all of your hair to even things out. They shouldn’t be hot enough that they pull apart the curls that worked, but they will curl up the looser side to match.

3. It curled just fine, but nothing is going in the right direction.

You wanted a page boy and ended up with a flip. Or something equally not to your taste. This is the time to use the curls to your advantage in creating a rolled updo. Start off with two or three victory rolls, then keep rolling the back into rosettes. Glamorous! See also: #6.

4. Nothing is curled, it just looks like a very interesting case of wavy bed head up in here.

IMG_1852

Take a flat iron and just concentrate on smoothing out the wonky bits, holding it at an angle to encourage a bit of curl instead of making it straight. I’ve woken up looking like a crazy person and in just a couple minutes of flat iron adjustments I ended up with something quite luxurious, if in a totally modern way. Until the wind got it. Fuck. See also: #5.

5. OMG it’s a bad afro.

IMG_1792

If you misjudged the size of your curls and ended up looking like an electrocuted chick from the 70s, smooth what you can with mouse and try out a variation of a Greek or Edwardian style. One of the easiest things you can do is a looser version of the gibson roll – take a narrow circular headband placed OVER your hair, and tuck the ends up, over, and into it at the base. This is a beautiful and sophisticated look that can even be done on the bus without a mirror, as I have had to do. I also like the Goody Modern Updo pin for the world’s easiest messy chignons. Basically what it all comes down to is to throw it up in a messy romantic sort of way, however you choose to do that.

6. You have curls, but they’re just a little blah

IMG_1862

Or they’re uneven. Or you feel like getting a pretend hair cut and going all out Great Gatsby style. This is almost the same as the style mentioned above, but slightly reversed. Put the headband (or scarf, if you’re fabulous), under your hair at the nape like you normally would, and again tuck the ends into it. Nobody will know you’re hiding below-shoulder length hair in that old-timey bob.

7. It’s hopeless. Hopeless I tell you!!

What the living hell is this!!

What the living hell is this!!

IMG_1472

Same camera. Also same me. I shit you not.

For when nothing else will do, or you’re just not in the mood for any of the suggestions above, or it’s windy, or rainy, or any number of situations. When you think “I’m screwed,” use a snood! It’s easy, it’s fool-proof, and you will look just like the awesome kind of vintage fashionista you were trying to look like when you set your hair in the first place. They come in a ton of different styles and colors to suit your mood too, so it’s a good idea to have a little collection of them. You can do victory rolls or a pomp in the front, add a flower, and presto!

Pp1lK

Option 2 – The beehive! Separate the front of your hair from ear to ear. With the back portion do either a french twist or a ponytail at the crown. Backcomb the shit out of it until the very sight of yourself makes you laugh your ass off. Smooth it out VERY gently, pinning down loose ends. Lightly backcomb the back of the front piece you left out and gently sweep back to cover the poof ball. If you don’t have enough hair to make your poof ball as big as you want it, use some fake hair stuffed into a hair net as a rat to fill it out. Tuck in the ends and pin. Super easy, super cute. And it can last 2-3 days!

8. Fuck it.

meghantruck-edit

There are actually curlers under this bandanna

Alternatively if it’s a casual day, make a pomp or roll in the front, throw the rest up, and stick it in a bandanna. This is a great idea for days when you can’t look that fancy, like when you’re painting, gardening, or roller-coaster-ing. This is also perfect if you would prefer to just re-set it and start all over again, because it will cover it up. It is after all what you do at night. I know you don’t go to bed lookin’ like no grandma.

Here’s lookin’ at you, kid!

The Life-Cycle of a Pin Curl Set

Have you ever really wondered why you should learn how to do pin curls? With all the effort it takes, it better be worth it. It takes so long to master and if you’re new to doing it it can take an hour to set each time! GAH! I myself often think about doing a pin curl set and end up saying “fuck it, ain’t nobody got time fo dat.” But on those occasions that I do push forward and do it, I’m really glad I did. Let me chronicle here for you how a pin curl set looks – and holds up – so you can see and compare for yourself. I typically set it dry and spray to wet with Lottabody setting lotion diluted in water once it’s done. As for a setting pattern, I barely have one. I just roll it all down and under, except sometimes at the base I roll it up just because it’s easier that way. I don’t use hairspray so it’s not a factor in these photos. Keep in mind that my hair is naturally super straight, fine, and will only hold a curl after serious negotiation.

April 2nd – I started last night with kind of dirty day-5 hair, but I had done pin curls Friday night for Viva and thus had the motivation to do it again, even if I figured I’d have to wash it soon and might not get the full life out of it. Instead of using the large end of the pin curler I used the small end for the first time. I guess I just wanted to see what it would do. While the pinned curls look the same as when I use the larger end, the result is really quite different. Here’s the large end, that I used over the weekend…

CurlsLarge

And here’s what I woke up with today

IMG_1540

So cute! I wish I had tried this weeks ago!

8 hours later it was definitely fuzzier, but had not fallen at all.  So for starters, let’s have a look at what happens when you just sleep on it as-is with no preservation, since this isn’t going to last much longer before I have to wash it anyway.

The next morning…

IMG_1559

Looks like a fresh pillow roller set!

Not bad.  By tonight it once again has managed to hold, however it’s clearly getting pretty gross so that’s the end of that. Now let’s start again and see how long it lasts when I preserve it overnight.

Day 1…

You can see how pleased I am by my expression

You can see how pleased I am by my expression

I think the small end of the pin curler actually works better when my hair is a bit dirty. It was all fluff. By the end of the day it was a little fuzzier like before, but basically the same. So by now we have learned that pin curls, though they may fall somewhat at night without preservation, don’t fall easily throughout the day.

Day 2…

Hooray, it's cute!

Hooray, it’s cute!

Last night I made maybe about 10 large pin curls using a foundation stick as a tool, and left them dry. So now we get to compare the difference this makes. As you can see I also did a victory roll, because pin curls make them about a million times easier so why not.

Day 3…

Last night I fell asleep on the couch and woke up at 4am, so I did a pretty half-assed job of preserving the set. I did 4 very large, very messy pin curls around the base of my head that were just barely hanging on in the pins, left the victory roll alone, covered it in a bandanna as usual and stumbled into bed. Nevertheless, it still looks great this morning.

IMG_1629

Can you believe this is day three? At this point I almost feel like I could keep this up indefinitely until my hair gets dirty. Have I cracked the code on how the girls at Viva could look so gorgeous all day every day on so little sleep? Of course the catch is that I figured it out a few days AFTER Viva. Oh well.

Day 4…

IMG_1651

While it miraculously doesn’t seem to be falling any noticeable amount, I am noticing a change in shape, though I’m not sure if it’s because the curls are getting old or because my hair is getting dirty. It’s a mystery for the ages. My hair is starting to deflate slightly, though it still looks good. It’s been losing its fluff and getting smoother, which is nice to a point. And it’s starting to form ringlets, which is annoying.

Day 5…

Yes I'm in my pajamas.

Yes I’m in my pajamas.

I’m still going at day 5. Basically my hair looks the same as it did yesterday, but by now I would really like to wash it. I wonder if I should give in and do it, or hold on another two days to really see how far I can take this thing. Also notable is it’s not trying to make ringlets anymore. I thought that was part of the curl aging process but it seems to have just been a slightly bad-ish hair day. I’m pretty much back to normal shape-wise.

Day 6…

IMG_1687

Ok so I have some pretty good volume here all things considered. My curls are becoming waves, but still have shape. I’m pretty happy! I think I’ll hang in there for the last day.

Day 7…

IMG_1736 IMG_1743

Yeah, so today became a ponytail day.

Yeah, so today became a ponytail day. And I added pearls!

Happy Day of Pink, bitches! I’m wearing pink right down to my mismatched socks, except all blue underwear because I’m a rebel like that. I think these pictures might do a little too much justice to my hair right now. I feel like until this point, you couldn’t really tell that it wasn’t first day hair, that I hadn’t styled it just like that on purpose. Today it’s obvious that this is an old set. It may be because I lightly sprayed it with diluted baking soda in preparation for my next wash, or it might be that I put all the curls on the top of my head overnight because I was sick of pins poking into my head as I slept, or it might just be that it’s been a damn week since I washed my hair. Either way, I’m glad I’ll be starting over tonight. And I’m pretty impressed that it’s lasted this long. I asked Mike if I should just put it in a snood because it was “wonky and loose” and he said “that’s the way I like you,” so I guess I’ll take that as some sort of compliment. And I have no one to impress but myself anyway. Today is a day against discrimination, and that includes discrimination against my dirty fallen hair. That’s right. I timed this thing perfectly.

So what do you think? Broken down over a week, I don’t think I spent much more time on this than on a regular roller set, and I’m pretty inexperienced with this so I’m slow. With a roller set, I have to set it from scratch with water every night, and within a few hours of taking it down I have loose shapeless ringlets that look pretty lame in comparison.

And this is how it looks fresh!

So, worth it? I think so!

Now all this is well and good, but what happens if your set fails? Check back on the 25th, when I’ll show you no less than 8 options, none of which include the ponytail.

Does No ‘Poo Work on Dyed Hair?

13 days into going no ‘poo, I had an urge to dye my hair platinum blonde. When I get crazy ideas like this it means it’s seriously time to do my roots, because it must be looking shitty if I’m that unsatisfied. I dye my hair super blond and follow up with Punky Color, so I was a bit worried about what would happen. Would baking soda doom me to a life of natural hair?

Holy shit

Holy shit

The truth is that baking soda DOES fade color. The alkaline opens up the hair and makes it more porous, so it actually accepts color very easily. But for the same reason it lets it go just as easily too. Although I wouldn’t say it’s quite so much that you have to give up on either. The thing is, in a no ‘poo regime you wash your hair far less often than you probably did when you were using shampoo, and I feel like this helps to balance things out. Another thing to remember is that apple cider vinegar does the exact opposite of baking soda, which is why they compliment each other so well. Its great for sealing the color in.

So here’s what I think you should do. Wash your hair (or just apply baking soda as I do in a spray bottle) right before dying your hair, so it’s ready to soak it all in. When you rinse it out do it with water only. I used to use a bit of shampoo to get rid of the messy excess, but the funny thing is, the first time I dyed my hair after starting all of this was that a TON less color came out in the shower. It was like fourth or fifth shampoo hair vs first shampoo hair. This means two things. First of all, I did not re-decorate the bathroom and myself once again in avant-garde splashes of pink that just never seem to come out. Secondly, it seems that because of the baking soda, my hair was holding a lot more color than it ever used to. So because of this, it should be totally unnecessary to wash your hair again when you rinse your color. That excess I was trying to get rid of just wasn’t there. When you’re done, spray liberally with the ACV. This seals the cuticle and your color. And damn if it doesn’t make my hair the softest its ever been in my life.

Try as much as you can to then only wash your hair once a week. It will be easier to get to this point using no ‘poo than with shampoo. In fact many people go on from using baking soda to using water alone. By the time you need to dye again, it will be because of your roots, not because of color fade.

For the moment, I’m still not at that point yet. Almost, but not completely. My hair doesn’t get badly faded anywhere except by the roots, where the baking soda gets scrubbed in. It looks mildly bleached there. Everywhere else it’s never held up better. My tips used to look brown after about a month, now they’re still black. So this is great. It’s working and I’m on the right track.

So it’s been nearly two months now and I still haven’t fallen off the wagon. I haven’t used shampoo since January 31st. This is challenging, but I have no regrets and no plans to go back.

537508_10152617954195012_886468109_n

Quitting Shampoo – Week 2

Feb 8th. I didn’t plan on updating EVERY day, but here we are, I have updates. Today I felt totally gross. Though I STILL didn’t look gross. I credit the fact that I had already only been shampooing only once a week. So I used a normal amount of baking soda if not more, and when I could still feel the grease through the water, I dragged a bar of coconut oil soap once over my hair. I feel much better. Scarlet said my hair looked incredible. She’s going to try this too. And I’m thinking about how much fun it could be coming up with different food-based hair recipes. I’ve also noticed that my hair is not breaking in the shower. I used to have big nasty handfulls of broken hair in there, now I’m down to MAYBE one strand. This is a big deal. All of it is.

Picture time!

IMG_1131
Feb 10th. No wash yesterday. My hair hasn’t gotten any greasier, but it hasn’t gotten any less greasy either. I added a vinegar rinse for the first time today but I didn’t notice any difference at all, and I think I was pretty generous with it. And it smelled awful, even though the smell was gone even before I got out of the shower. I’m just feeling a bit discouraged. I don’t feel like my hair is nice right now. Plus I need a hair cut, my roots suck, and my baking soda is not only years old, but I just figured out it’s baking powder, meaning it’s half cornstarch. This sucks.

(If you’re having trouble with the transition phase too, check out http://ecottached.blogspot.ca/2011/11/no-poo-day-two.html)

Fuck it. I got back in the shower for a second time and went nuts with the coconut oil soap, tons of vinegar, and a bit of conditioner. Tomorrow I’m going to go buy some REAL fresh baking soda, two spray bottles for my mixtures, essential oil, and a boar bristle brush. Persistence for the win. Montage!

Feb 11th. We went to walmart and I got everything I needed. The spray bottles could only be found in the gardening section, so they’re huge and fit at least 5 cups each. I put a few drops of clove essential oil in the “conditioner” to dilute the vinegar smell. It worked, it smells totally weird, but much better. Then I thought what the hell, I’ll put some in my “shampoo” too. I’m excited to try this out, but my hair doesn’t need it, so I’m going to leave it alone for now.

What I realized though is that having this stuff in spray bottles instead of squirt bottles is genius. I wanted spray bottles to make sure I was applying it evenly, and not using any more than I needed. Not wanting to wash my hair until it really needs it again, but still wanting to try it in some way, I just lightly sprayed them on my dry hair. It turns out my notion that this might be a great refresher in between washes was right. I thought it was far fetched, but my hair just perked right up. My ends are also noticeably softer from the vinegar for the first time. I have no idea why it suddenly worked. And now I smell like clove!

For more about the benefits of apple cider vinegar, see http://www.naturalnews.com/038131_apple_cider_vinegar_hair_treatment.html

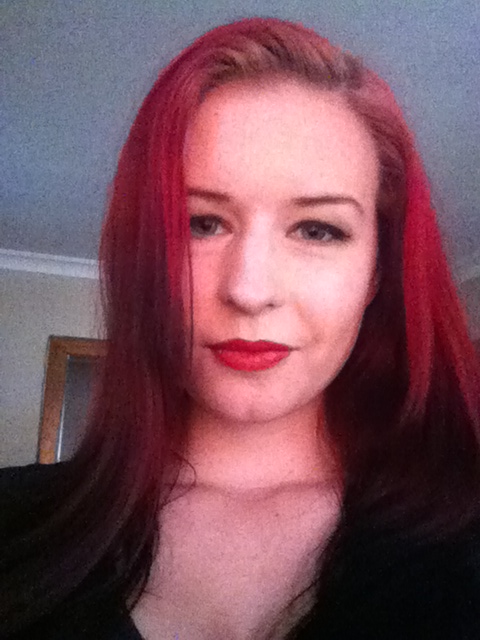
Feb 12th. I don’t know if it’s because I slept with baking soda in my hair, but I woke up feeling NO GREASE for the first time in two weeks. All I felt was a lot of baking soda, but my hair looked fabulous right out of bed. Consequently I didn’t feel the need to wash it, but I did anyway to get the baking soda out. When I felt a bit of grease through the water, I used a dab of coconut oil soap. I sprayed the bottom half liberally with the vinegar mix as a leave-in conditioner. Oh. My. God. I can’t believe this, my hair feels normal. But it feels better than normal, it feels amazing. No grease, no grime, no baking soda residue, just thick, super soft hair. I can’t believe it. The transition phase didn’t last very long, but it felt like forever, and I think I’m actually out of the woods. My hair looks and feels awesome. Between the baking soda, vinegar, and red dye, it’s worthy of me saying that I care for it with a volcano of epic-ness.

Epilogue of sorts: I dyed my hair on the 13th and 15th with no wash, just water and vinegar after to seal in the color. I didn’t wash my hair again until the 18th, because I had a hair cut. But I totally could have gone longer. Everything is going great.
IMG_1147

So let me break down my trial and error for you into what really worked for me. What you’ll need:

-2 spray bottles

-Non-expired baking soda

-Apple cider vinegar

-Essential oil of your choice

-A boar bristle brush to move the oil from the roots to the tips and make it shine

-Natural sulfate-and-detergent-free soap or shampoo bar to get you through those really tough moments.

Total cost to me: About 35$ for absolutely everything, that will last me a year or more. But it’s quite possible you already have these things in your house, making it virtually free.

Mix one tablespoon of baking soda for each cup of water (you can choose to use distilled water, or boiled and cooled if your water is hard) in one bottle, and between 1 tablespoon per cup and half and half of vinegar and water, depending on your hair needs, into the second bottle. I didn’t even pay attention to the ratio I used, I think it was about 1/5. Add about one drop of essential oil for each cup or two to each bottle. Keep in mind the benefits and/or aromatherapy qualities of each. In the shower, scrub the roots well to lift any dirt and grease, and use a bit of natural soap if you’re feeling desperate during the transition phase.

There is definitely a learning curve to this. Aside from the transition phase, it takes some time to learn what works best for you, as far as the ratios of your ingredients etc. Contrary to what seems to work for most people, I’ve been finding that this works best for me when I spray baking soda on my hair a day before washing, using a bit of a higher ratio than recommended, and apply more and scrub and rinse the next day. The vinegar is also by far the most effective for me when used as a leave-in. So even when the transition is over you might need to experiment before you get the best results. When I did things the “normal” way, I found my hair returned to being stringy, greasy-ish, and a bit crunchy. Using my sprays on dry hair mostly fixed how bad it looked and felt when it was getting pretty bad, and when I washed a day later things were fine again. I had to do a month of trial and error before things worked themselves out.

The transition phase varies widely, I’ve heard everything from none to a few months. The most common seems to be approaching 2 weeks. Just hang in there, use ponytails, bandannas, hats, or snoods when you need to. And remember it totally does get better. You can do it!
On the 25th, I’ll answer the million dollar question – Does no ‘poo work on dyed hair? Find out soon!